In this particular post, I’m going to tell you the easiest way to upload data into the MongoDB atlas cluster database. You must have come across a lot of other ways to upload data to MongoDB atlas using your MongoDB bash shell, creating individual documents, etc.
All the other methods except mentioned in this post are complex and hard especially if you are a newbie. In this method, we basically use MongoDB compass to upload the data from our local computer to MongoDB atlas.
What you require before getting started:
- You must have created a cluster on mongodb atlas
- Created a database on mongodb atlas
- MongoDBCompass installed on your local PC
Table of Contents
Upload Data in MongoDB Atlas from local computer
The first thing you need to do after you have created a database on your MongoDB cluster is to connect your MongoDB compass application to the atlas MongoDB cluster. Below are the simple steps to do that:
Connect MongoDB compass with MongoDB Atlas cluster
Below are the easy steps to connect MongoDB compass with MongoDB Atlas cluster
- Download the latest version of mongoDB compass suitable for your operating system and install it.
Click here to download the mongdb compass - Go to connect and then click on “connect to…” or you can directly press the ctrl + N command (on windows)
- You will see something like below image

- Paste the connection string you got from mongodb atlas
- Wait for few minutes and that’s it. You are successfully connected your mongodb compass to online mongodb atlas cluster
Upload data from MongoDB compass to MongoDB Atlas cluster
After successfully connecting with the MongoDB compass with the MongoDB Atlas cluster you will all the databases that are present in your cluster.
Just look for the desired database and click on its name. After that, you can see all the collections that are present in that database. If your database is empty, you will have something like below.

Now click on create a collection and give your collection a desired name. Read and check the checkboxes if necessary. Now, In my case, I’ve created a collection named “mydata”.

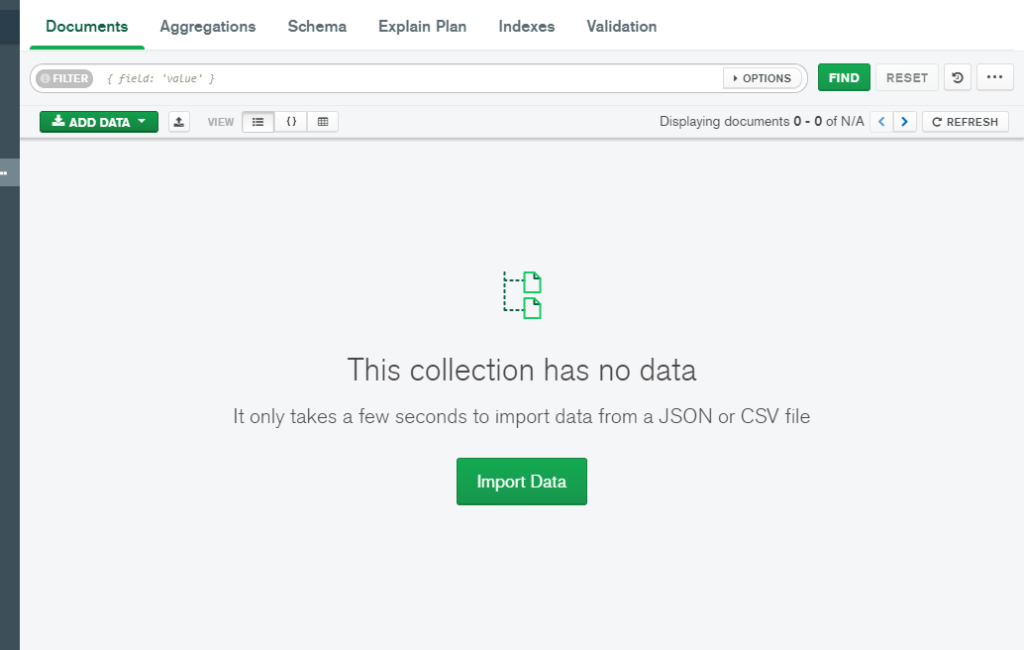
After creating the collection, you will have something like the below as you don’t have any data in the newly created collection.

Now here comes the best part that is uploading data to the collection created in the database of MongoDB atlas cloud cluster. Now, just click on “Import Data” or you can also click on “ADD DATA” and then “Import File” like below.

Now, you will be presented with a screen like below.

Now, just click on browse and select the desired file from your computer that you want to import into the created collection on the database of MongoDB atlas cloud. Currently, MongoDB support imports from two types of files that is JSON and CSV.
After selecting the file from your local computer. Select the INput file type that is either JSON or CSV. Now click on “IMPORT”.
It will take some time if the file is big. Finally, all entries of the file will be imported to MongoDB collection in form of documents. Hurray!!
